I’ve long been a fan of toy cameras and the fun you can have with them – anyone who has mucked about with a Holga or a Diana will understand the unpredictable joys of shooting with these basic lumps of plastic.
More recently, the toy camera scene has been enhanced by the arrival of assorted kits. These are mostly for pinhole photography, but the Lomo Konstruktor is a fully-functional SLR you can build yourself. A couple of similar kits appeared, but they seemed a bit on the pricey side to me, and I was scared of wasting the money if I screwed them up.
Recently, though, I spotted a Haynes Classic Camera Kit in a local charity shop for just five pounds, a quarter of the normal price. I couldn’t resist, so I bought it.
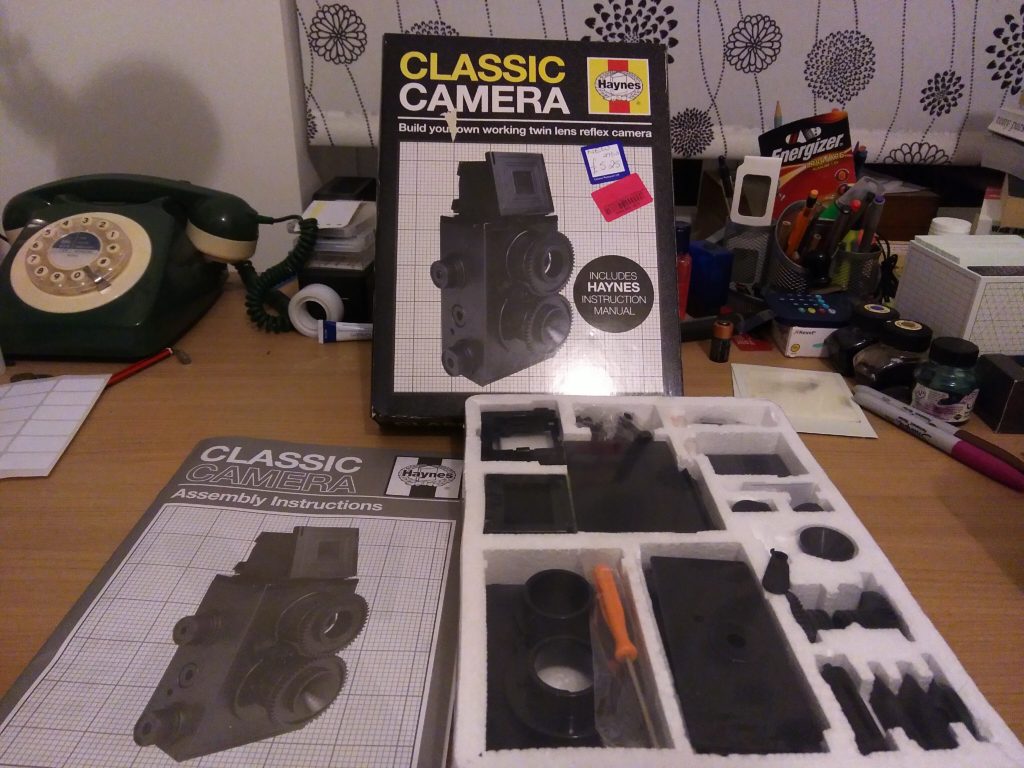
Haynes are well known here in the UK for publishing car repair manuals, but recently they’ve branched out into entertainment products, this kit being one of them. It allows you to build a basic twin-lens reflex camera using 35mm film. Reading reviews of the kit, I discovered it’s better known as the Recesky camera, much-beloved of toycam enthusiasts, but not known for the quality of assembly instructions. Lots of people found it tricky to assemble as a result, and I went into it with some trepidation,
I needn’t have worried – I think the Haynes rebranding has resulted in much better instructions. They were a good combination of detailed text and photos, and only in one or two places were the pictures a bit too dark to be clear. I successfully assembled the kit in one session, taking about an hour and a half.
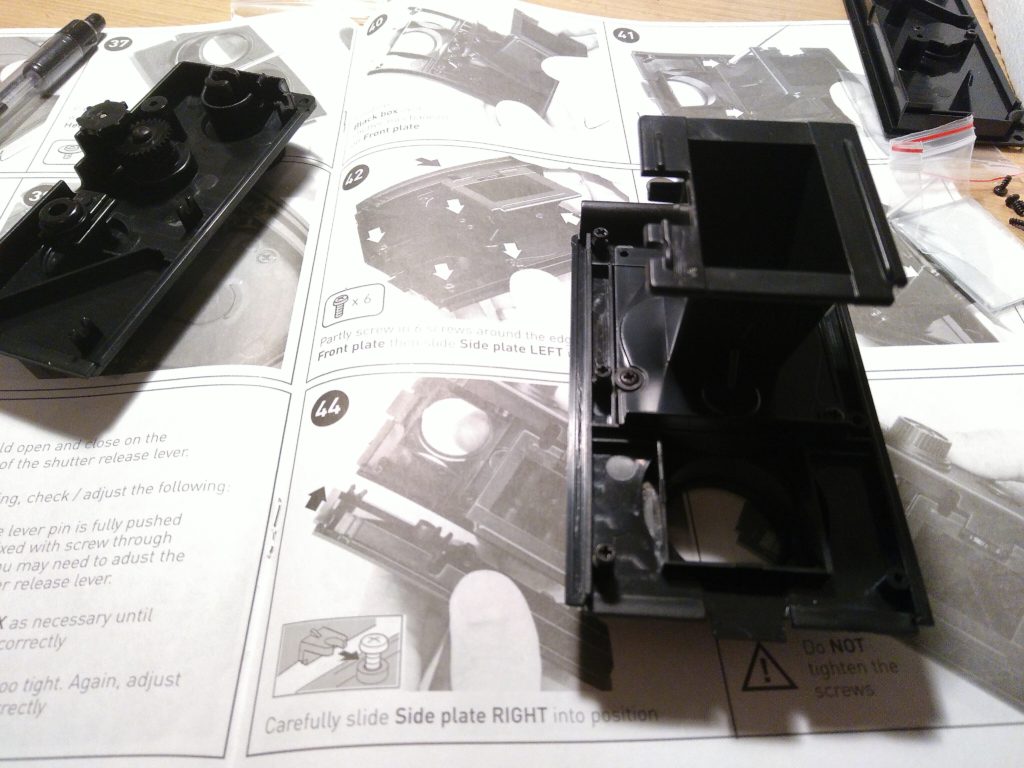
A small screwdriver is supplied, which is the only tool you actually need, but I’d suggest having some tweezers handy too. The only really tricky part is getting the springs attached in the shutter mechanism. Fine-tuning the shutter took a while, but the instructions are clear enough on how to get it working smoothly.
Having got it assembled, I was keen to get it loaded with film. The instructions suggest ISO 200 or 400 film, up to 24 exposures. This presented bit of a problem, as I could only get hold of 36 exposures – apparently, the winding mechanism struggles with “full-length” films. I resolved this potential problem by pulling the film out a bit and cutting off a length before loading it.
Kit-built 35mm cameras always have very basic winding mechanisms, so there’s no interlock with the shutter, no automatic stop after you’ve wound the right distance, and no film counter. There’s just a small rotating indicator that shows the film is moving, driven by a sprocket that engages with the holes on the film. That’s the idea, at least – it’s not easy getting the holes to engage properly, but I found they did if I applied a bit of pressure to the back of the camera while winding.
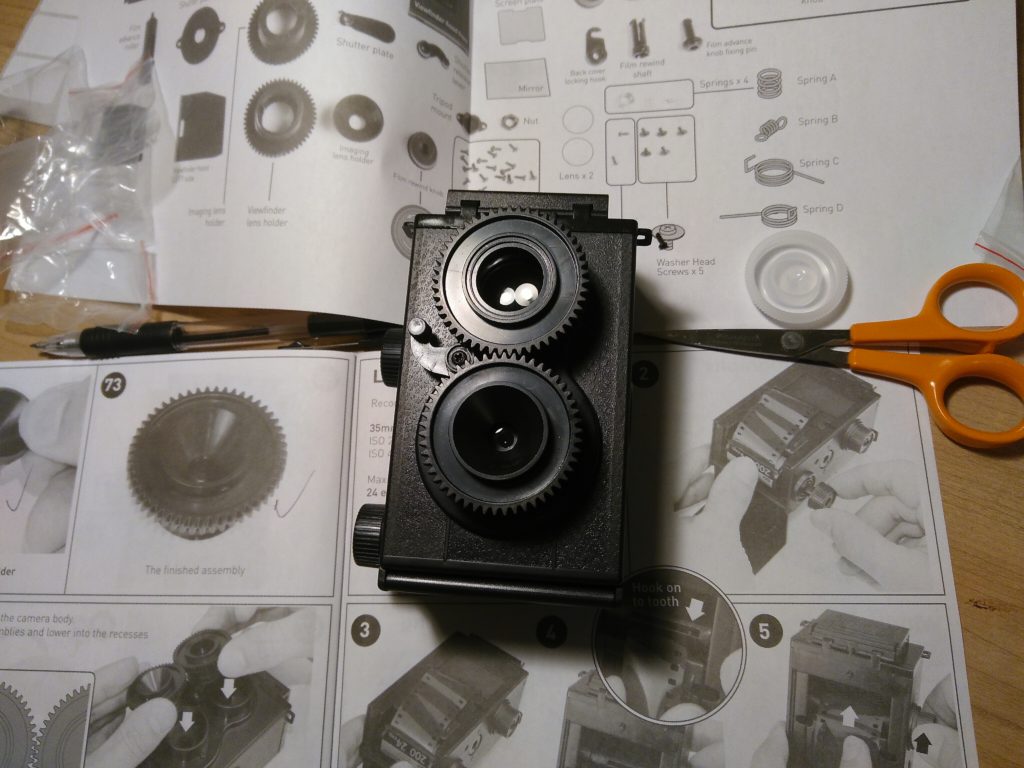
I took the camera for a walk around my sleepy little town on a bright autumn morning, and merrily shot away, having quite a lot of fun. TLRs are quite rare these days, so if you’ve never used one, they take a bit of getting used to. You hold them at waist level, and compose and focus using a screen on the top of the camera. Most TLRs shoot square pictures, but this one, using 35mm, is a portrait-format camera. There’s rudimentary focus control, but it’s very tricky to see if it actually does anything! I made a few adjustments and hoped for the best.
Generally, I found that the shutter operated reliably, and the winding mechanism worked pretty much as it should. I eventually found myself at the end of the film, and carefully rewound it before opening the camera up again. Then, I took a bus into town and dropped it off at a one-hour lab.
It turns out I didn’t slice much off the start of the film, as I got just shy of 30 pictures. They were quite unevenly spaced and overlapped in one or two places, which meant I got my negatives returned uncut.
Aaaand…here’s some of the pictures!

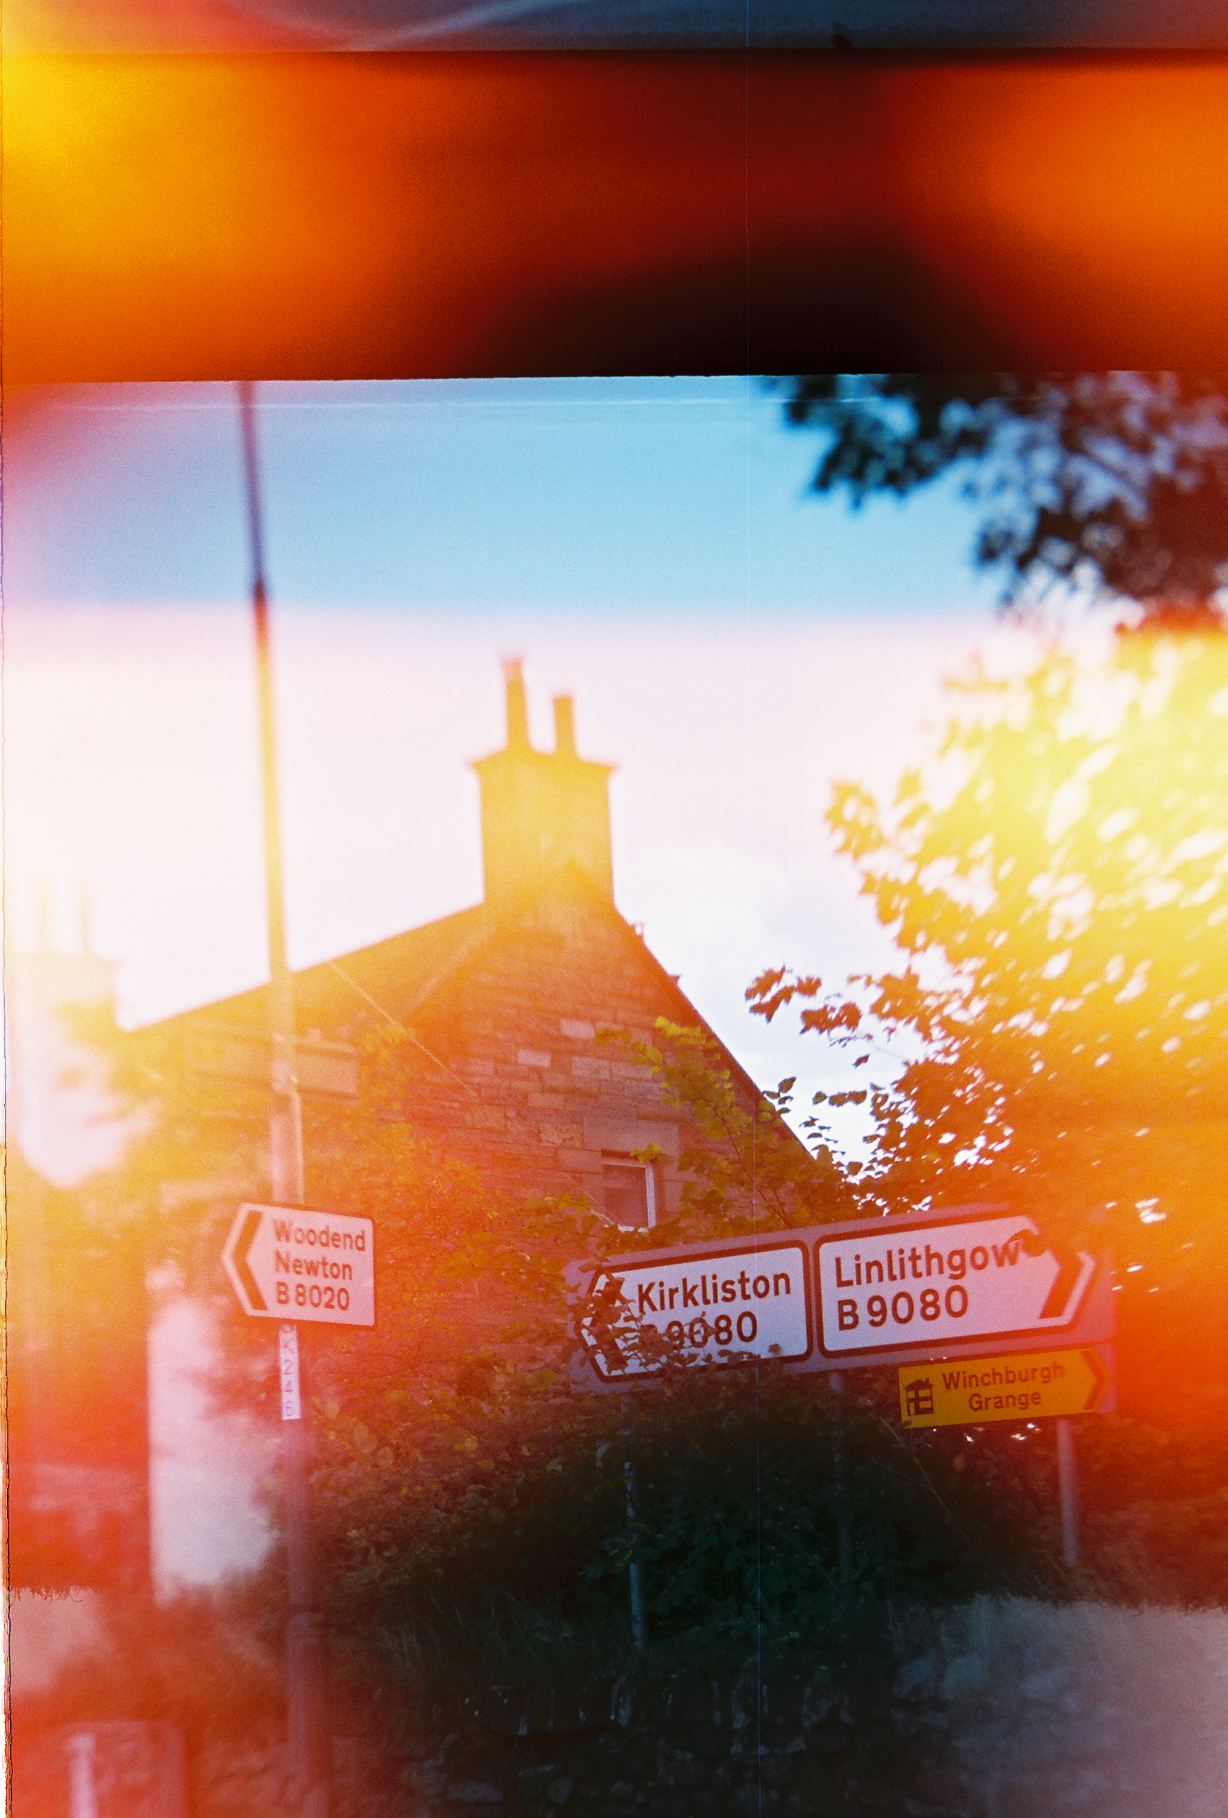


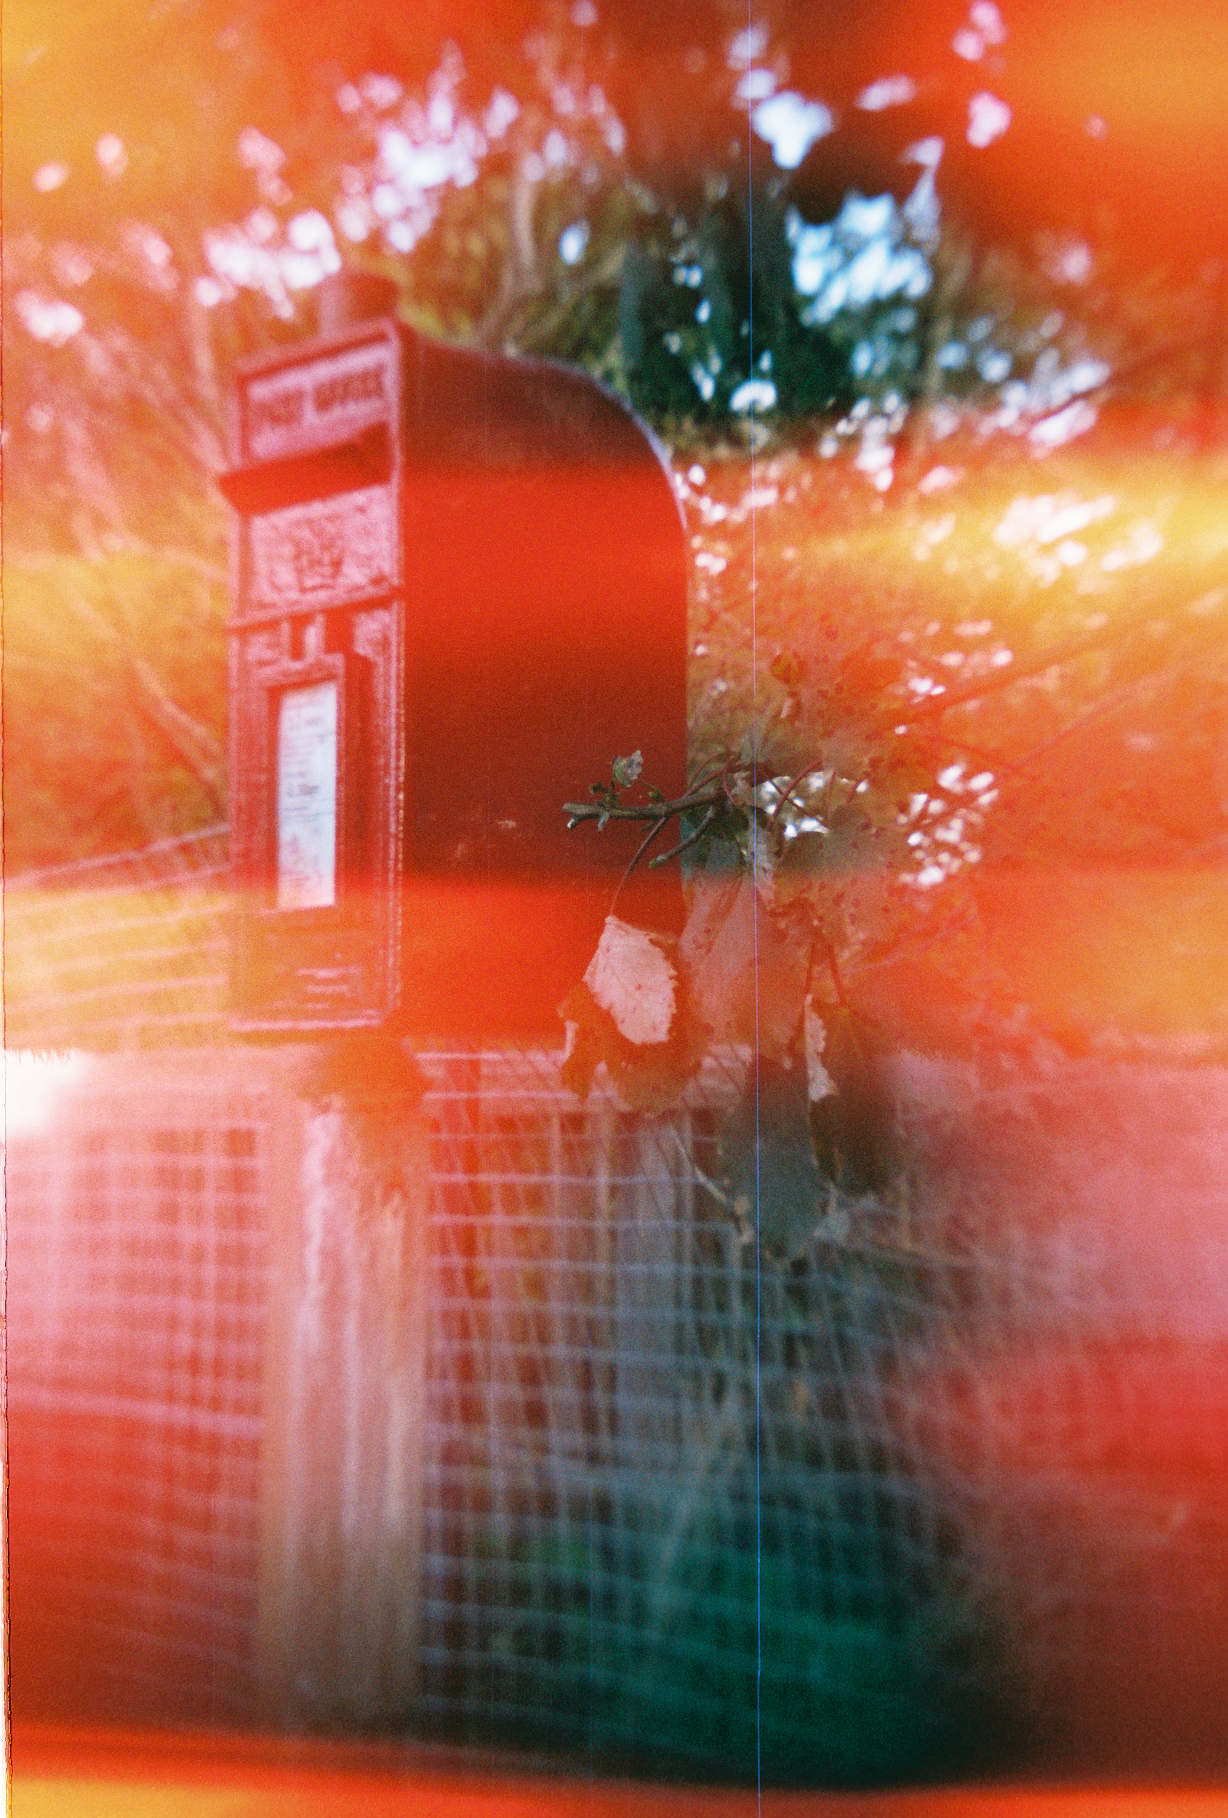


As you can see, light leaks turned out to be a very serious problem, affecting all the photos on the roll to a greater or lesser degree – these are some of the better ones. However, on the bits that aren’t affected, the colours are bright and bold and the focus is reasonably good, despite the dodgy controls. And it was such good fun to shoot with! Certainly I was encouraged enough to try again, but this time I took some steps to reduce the leaks.
First off, I tightened all the screws, then I took some matt black paint to some of the shinier bits inside – this can make light bounce around. I then applied black tape to all the joins on the outside, and in various places inside, before reloading it. As soon as I find the time, I’ll shoot another roll and report back.
You may wonder why I’d want to bother – it’s expensive, fiddly and unpredictable – but it was great fun building this, and working out how to get the best from it. I think it’s fair to say that no two of these cameras are completely alike, and I look forward to getting to know it some more!
I built the Recesky version of one of these things a few years ago, and I was immediately beset by severe light leaks. I tried taping up around what I thought would be obvious problem areas,but it didn’t improve things. My latest attempt is to line all the areas where the loading door closes up with batting from a previous project. Some of the reviews of this camera seem to indicate that other people are having no problem with this.
I shot another roll in mine recently, and had shedloads of leaks with it too. I think unfortunately there’s not much that can be done about it, and it needs to be accepted as a feature rather than a bug. I still quite like the thing. 🙂
Matt black paint – yes (remembering to lightly sand surface first to give paint a ‘key’).
On surfaces prone to leaking light – I recommend humbrol liquid poly cement worth a try – if this works on THIS particular plastic & the parts are to remain together forever. This solvent almost ‘melts’ the plastic together giving a good seal.
Might work IF solvent works with THIS type of plastic.